 (1)")
What information does a VPN conceal?
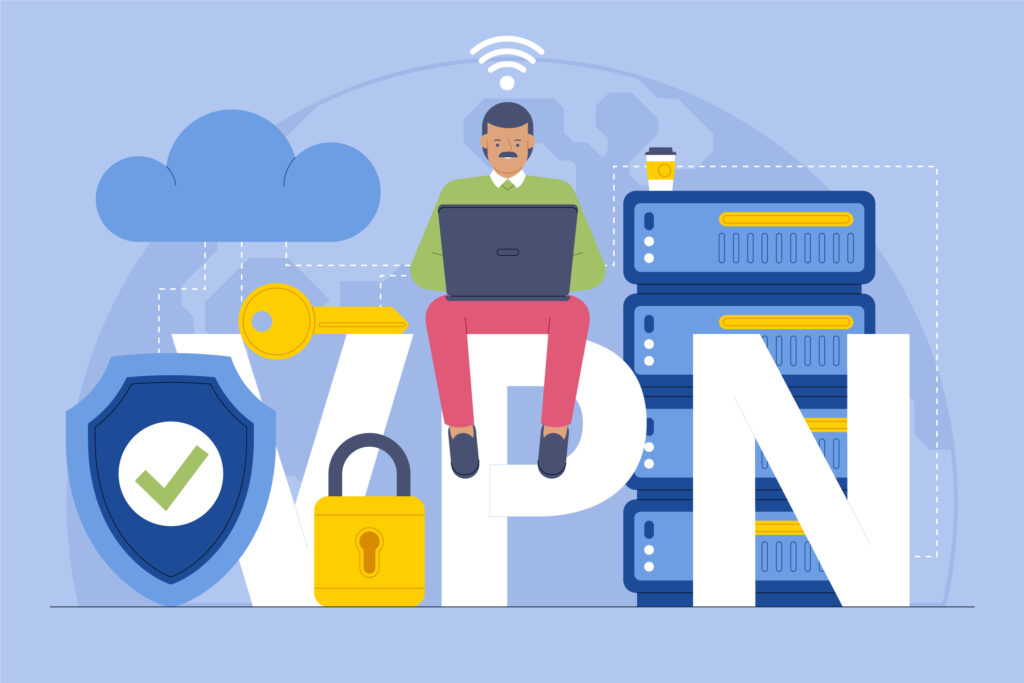
A VPN enables you to reroute your internet traffic through a distant server, resulting in the alteration of your IP address. This means that while you are online, your genuine IP remains concealed, and you appear online with an IP address linked with the VPN server. Additionally, this capability allows you to surf the internet as if you were located in another country.
For instance, if you are physically situated located in South Korea but connect to a VPN server in the US, your online presence will be recognized as originating from the United States. Moreover, when connected to a VPN server, the data traffic on your device undergoes encryption. This encryption ensures that your Internet Service Provider (ISP), government entities, or potential hackers are unable to observe the websites you browse or any other online activities you engage in.
While many websites currently utilize the SSL protocol (https:// instead of http://), rendering your activities on those sites invisible to your ISP, a VPN adds an extra layer of privacy. Without a
VPN, your ISP can still monitor which secure websites you explore and the duration of your visits.
In summary, utilizing a VPN not only conceals your browsing and search history but also enhances security by protecting your internet traffic and altering your IP address.
In our digitally driven age, ensuring online privacy has never been more crucial. NordVPN, a prominent virtual private network (VPN) service, offers users a robust solution to fortify their digital defenses. Crafting a plagiarism-free blog, the focus shifts towards empowering individuals to fortify their privacy through a detailed guide on leveraging NordVPN’s capabilities. This piece will unfold the steps required to achieve heightened privacy in the digital realm take control of their online security.
Step 1: Selecting the Right NordVPN Plan
The journey to fortifying your online privacy begins with choosing the most suitable NordVPN plan. Providing a variety of plans customized to suit diverse needs, diverse user requirements, NordVPN ensures enhanced security for personal use or comprehensive solutions for business applications.
Step2: Downloading and Installing NordVPN
After selecting the plan aligning with your privacy
requirements, proceed to download and install the NordVPN application. The installation process is user-friendly and compatible supporting a selection of devices like desktops, laptops, smartphones, and tablets.
Step3: Creating Your NordVPN Account
To fully leverage Nord VPN‘s features, create a personalized account. This account serves as your gateway to a secure and private online experience. It is essential to use a strong, unique password for added security.
Step4: Logging In and Exploring the Interface
Once your account is created, log in to the NordVPN application. Familiarize yourself with the intuitive interface designed for easy navigation and access to essential features.

Step 5: Connecting to a Nord VPN Server
The essence of NordVPN‘s privacy features lies in its extensive global network of servers. Supporting a diverse array of devices, encompassing desktops, laptops, smartphones, and tablets to establish a secure connection. Nord VPN’s server options are strategically located, enabling access to content from different regions while maintaining privacy.
Step 6: Activating CyberSec for Enhanced Protection
NordVPN’s CyberSec feature acts as a digital shield against various online threats. By blocking malicious websites, intrusive ads, and harmful online content, CyberSec adds an extra layer of security to your browsing experience. Enable this feature within the NordVPN application settings.
Step 7: Enabling NordVPN’s Kill Switch
The NordVPN Kill Switch is a crucial safety net. It guarantees the disconnection of your internet connection in case of an unexpected drop in the VPN connection. Activating the Kill Switch guarantees that your online activities remain private even during brief interruptions.

Step 8: Exploring Specialty Servers
NordVPN offers specialty servers designed for specific needs. Explore options like Double VPN for an additional layer of encryption, Onion Over VPN for enhanced anonymity, and P2P servers optimized for secure file sharing. Tailor your server selection based on your privacy requirements.
Step 9: Customizing Personal Preferences
Navigate to NordVPN’s settings to customize your preferences. Adjust parameters such as protocol selection, auto-connect options, and notifications according to your preferences for a personalized and seamless user experience.

Step 10: Regularly Updating NordVPN
For peak performance and enhanced security, maintain your system in optimal condition. NordVPN application updated. Frequent updates typically incorporate corrections for bugs, improvements in performance, and the introduction of new features. contributing to a more secure online environment.
In the ever-changing digital environment, adapting to the ongoing transformations, proactive steps to enhance online privacy becomes paramount. NordVPN, with its comprehensive features and user-friendly interface, stands as a reliable ally in this endeavor. By following this step-by-step guide, users can navigate the process of setting up NordVPN with confidence, taking control of their digital footprint, and embracing a more secure online experience. Remember, safeguarding your online privacy is not just a choice; it’s a necessity in today’s interconnected world.